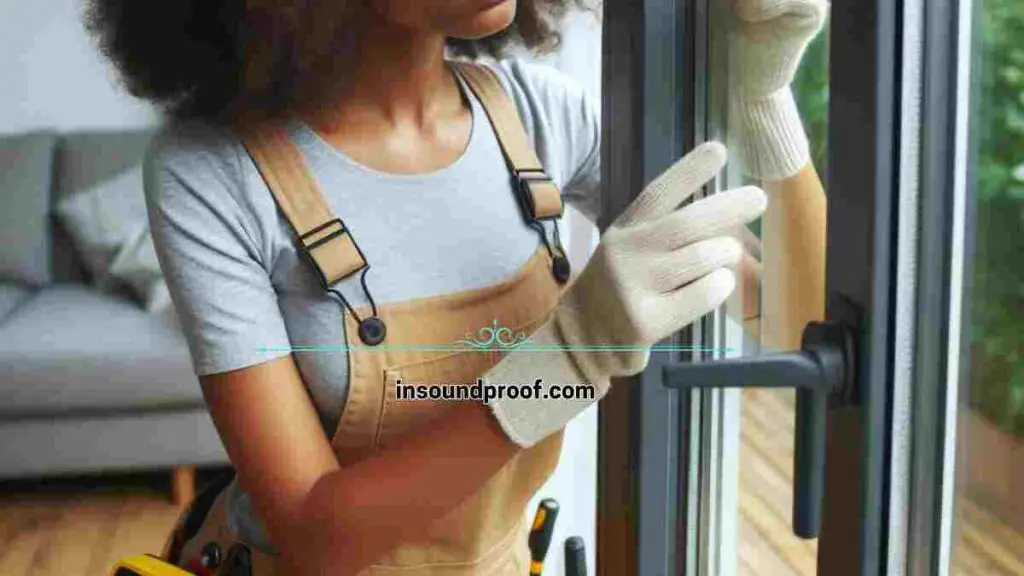
As you sit there, savoring your morning coffee and taking in the view through your sliding glass door, you notice something that catches your eye. A hairline crack has appeared, zigzagging its way across the pane. This unexpected sight may leave you wondering what to do next. Should you ignore it and hope it doesn’t get worse, or should you take action and replace the glass?
Replacing glass in a sliding glass door is a task that many homeowners may find daunting, especially if they have never attempted it before. However, with the right guidance and a bit of DIY know-how, it is a project that can be tackled by even the most novice of professionals.

In this comprehensive guide, we will walk you through the process of replacing the glass in your sliding glass door. From understanding the anatomy of the door to measuring for the replacement glass, we will cover all the essential steps to ensure a successful project.
Whether you are looking to replace the glass for aesthetic reasons, to improve energy efficiency, or to soundproof your space, this guide will provide you with the knowledge and confidence to tackle the task yourself.
So, let’s dive in and explore the world of sliding glass door glass replacement together.
Table of Contents
1. Why Replacing Glass in a Sliding Glass Door Necessary?
Before we dive into the nitty-gritty, let’s address the elephant in the room: why bother replacing the glass in the first place? Here’s the lowdown:
1. Enhanced Energy Efficiency: One of the main reasons to replace the glass in your sliding glass door is to improve energy efficiency. Older doors may have single-pane glass, which is not as effective at insulating your home as newer double-pane or even triple-pane glass. By upgrading to energy-efficient glass, you can reduce heat transfer and potentially lower your energy bills.
2. Improved Security: Another important reason to replace the glass is to enhance the security of your home. Older glass may be more susceptible to breaking, as it can be easily shattered. By installing tempered or laminated glass, you can make it more difficult for intruders to gain access to your home.
3. Enhanced Soundproofing: If you live in a noisy neighborhood or near a busy street, replacing glass in a sliding glass door can help reduce outside noise and create a more peaceful indoor environment. Look for glass options that offer soundproofing properties to enjoy a quieter and more comfortable living space.
4. Aesthetic Upgrade: Lastly, replacing the glass in your sliding glass door can give your home a fresh new look. Whether you want to match the style of your interior or update the exterior appearance, choosing a glass option that complements your decor can make a significant difference in the overall aesthetics of your space.
Now that you understand the benefits of replacing glass in a sliding glass door, let’s move on to the next section and explore the anatomy of a sliding glass door.
2. The Anatomy of a Sliding Glass Door

The Glazing Bead: Friend or Foe? When it comes to your sliding glass door, the glazing bead plays a crucial role. This small strip, typically made of vinyl, rubber, or wood, holds the glass pane securely in place. It not only provides structural support but also helps to keep out drafts and moisture. If your sliding door features a glazing bead, consider yourself lucky, as it makes the replacement process more straightforward.
Measuring Up: Before you embark on the journey of replacing the glass in your sliding glass door, it’s essential to get accurate measurements. Grab your trusty measuring tape and take note of the standard dimensions of glass panes. Sliding glass doors typically come in sizes ranging from 60 to 144 inches (3.66 m) wide and 80 to 96 inches (2.44 m) high. By measuring your door accurately, you can ensure that you order the correct size of replacement glass.
Serial Numbers and Glass Personalities: Did you know that your glass pane has a secret identity? Each glass pane in your sliding glass door comes with a unique serial number. This serial number reveals important information about the glass, such as its superpowers. Is it double-insulated to improve energy efficiency? Does it have UV resistance to protect your home from harmful rays? Knowing the characteristics of your glass pane will help you choose the right replacement glass that matches your needs and preferences.
Understanding the anatomy of a sliding glass door, including the glazing bead, measurements, and glass characteristics, is crucial before diving into the DIY process of replacing the glass. In the next section, we will guide you through the steps of the DIY dance: replacing the glass in your sliding glass door.
3. The DIY Dance: Replacing Glass in a Sliding Glass Door Necessary
To successfully replace the glass in your sliding glass door, you’ll need a few essential tools. Gather your trusty measuring tape, a putty knife, a glazing bead tool, a rubber mallet, a utility knife, and a caulking gun. These tools will help you navigate the DIY dance of glass replacement with ease.
Now, let’s break down the step-by-step process of replacing the glass in your sliding glass door.
- First, remove the glazing bead by gently prying it away from the frame using the putty knife. Be careful not to damage the bead or the frame during this process.
- Once the glazing bead is removed, carefully lift out the old glass pane and set it aside. Take this opportunity to clean the frame and remove any debris or old caulk.
- Next, measure the dimensions of the old glass pane and order a replacement that matches these measurements. It’s crucial to ensure the new glass pane fits perfectly to avoid any issues during installation.
- Once you have the replacement glass, apply a thin layer of caulk around the frame’s perimeter using the caulking gun. Carefully place the new glass pane into the frame, ensuring it sits securely.
- Finally, reinstall the glazing bead by gently pressing it back into place using the glazing bead tool and a rubber mallet. Make sure it is snug and secure.
By following these step-by-step instructions and using the right tools, you can successfully replace the glass in your sliding glass door and enjoy a clear, unobstructed view.
FAQs about Replacing Glass in a Sliding Glass Door Necessary
As you embark on the journey of replacing the glass in your sliding glass door, you may have some questions. Here are a few frequently asked questions to help guide you through the process.
Q 1. Can I replace just one side of my sliding glass door?
Ans: Yes, replacing just one side of your sliding glass door is possible. If only one side of the glass is cracked or damaged, you can order a replacement pane that matches the dimensions of the damaged side. This allows you to save time and money by only replacing the glass that needs to be replaced.
Q 2. What type of glass should I use for my sliding glass door?
Ans: When replacing the glass in your sliding glass door, it is important to use tempered glass. Tempered glass is stronger and more resistant to breakage than regular glass. It is also safer because it breaks into small, dull pieces instead of sharp shards. This is especially significant for sliding glass doors, as they are more prone to accidents and breakage.
Q 3. Can I soundproof my sliding glass door with the new glass?
Ans: While replacing the glass in your sliding glass door can improve insulation and reduce noise, it may not provide complete soundproofing. To further enhance soundproofing, you can consider adding weatherstripping or using curtains or blinds that have sound-absorbing properties. These additional measures can help minimize noise transmission and create a more peaceful environment.
By addressing these problems, you can feel more confident and informed as you tackle the task of replacing the glass in your sliding glass door. Remember to take accurate measurements, use the right tools, and prioritize safety throughout the process.
Conclusion: A Clear Path Ahead
With the knowledge and confidence gained from this DIY guide, you can confidently replace the glass in your sliding glass door. Following the step-by-step instructions and taking the necessary precautions, you can restore clarity, warmth, and a touch of DIY magic to your home.
As you embark on this project, remember that you are not just replacing glass; you are revitalizing your view and allowing natural light to pour into your living space. The process may seem daunting at first, but with the right tools and techniques, you can complete the task.
Take accurate measurements, ensuring that the replacement glass matches the dimensions of the damaged side. Use tempered glass for its strength and safety benefits. Consider enhancing soundproofing by adding weatherstripping or using sound-absorbing curtains or blinds.
By prioritizing safety, using the appropriate materials, and following the instructions provided, you can confidently replace the glass in your sliding glass door. Embrace the challenge and enjoy the satisfaction of a job well done. Your sliding glass door will thank you for the renewed clarity and functionality it brings.
So, go ahead and embark on this DIY adventure. With a clear path ahead, you can confidently replace the glass in your sliding glass door and transform your living space.


